

To pack a bike for flying, check your airline’s bicycle rules, choose a case or bag that fits your bike, and remove parts as its instructions require. Protect the frame, wheels, and loose components, then secure everything so nothing shifts in transit. Keep tools and reassembly instructions accessible.
Air travel can involve baggage limits, special handling, and different packing requirements, so confirm details with your airline before choosing a case. Follow your bike and component manufacturers’ instructions when removing or reinstalling parts, and ask a bike shop to check any work you are unsure about.
What You Need
Your packing supplies depend on your bike, the case, and the airline’s requirements. Gather everything before you begin so you can protect parts and keep small hardware together.
- A bike travel case or bag sized for your bike, with wheel and frame protection suited to your trip.
- Foam padding, frame protectors, or clean soft material to cushion areas that could rub or take an impact.
- Small bags or labeled containers for pedals, bolts, and other removed hardware.
- The tools specified by your bike or component maker for removing and reinstalling parts.
- Any fork spacer, brake pad spacer, or other protective insert specified for your bike.
- Photos of your bike before disassembly, plus instructions for parts you will remove.
- Airline booking details and current bicycle baggage rules.
Step by Step
Pack methodically and use your case maker’s instructions as the final guide for arranging the bike. Keep removed parts organized, and avoid forcing components into a space that does not fit.
- Confirm the airline’s current bicycle baggage rules and any required packing conditions. This helps you choose suitable luggage and avoid surprises at check-in.
- Measure your bike and compare its packed dimensions with the case’s stated fit. A close fit can make it harder to protect parts or close the case without pressure.
- Clean the bike and take photos before disassembly. Clean parts are easier to inspect, while photos can help you remember cable routing and component positions.
- Remove accessories and loose items, then place them in labeled bags. Lights, computers, bottles, and tools can shift, scratch the bike, or go missing if left attached.
- Remove the wheels and any other parts required by the case instructions. Follow the bike maker’s guidance, and keep the relevant hardware with each part.
- Protect exposed fork ends, frame contact points, brake rotors, and other vulnerable areas. Use purpose-made protectors or suitable padding to reduce rubbing and impact damage.
- Place the frame and wheels in their separate supports or compartments. Keep metal parts from pressing against the frame, and orient components as the case maker directs.
- Secure the bike and parts with the case’s straps or supports. Check that nothing can move freely, but do not tighten straps in a way that bends or compresses parts.
- Close the case without forcing its zipper, latches, or panels. Pressure against a closure can signal poor fit or misplaced components, so reopen and adjust the layout.
- Keep reassembly tools and instructions accessible, then inspect the bike before riding after arrival. Confirm that removed parts are correctly installed and ask a bike shop to check uncertain work.
Common Mistakes
Assuming Every Airline Uses Same Rules
Airline baggage rules can differ, and requirements may change. Check the carrier’s current policy for your specific itinerary, including packing conditions, baggage charges, and how to arrange bicycle transport.
Choosing a Case Before Checking Fit
Wheel size alone does not confirm that a case fits. Frame shape, wheelbase, handlebars, and suspension can affect packed dimensions, so measure your bike in the configuration the case requires.
Letting Parts Touch or Shift
Unsecured wheels, pedals, and tools can rub against the frame during handling. Use separate compartments and padding, then gently check for movement before closing the case.
Forcing the Case Closed
A case that needs force may contain a misplaced part or lack adequate clearance. Reopen it, inspect the arrangement, and follow the case maker’s packing diagram instead of compressing components.
Forgetting Reassembly Details
Removing parts without tracking their positions or hardware can complicate setup at your destination. Photograph each stage and keep bolts and small pieces labeled with the component they belong to.
When to Take It to a Bike Shop
Ask a bike shop to prepare your bike if you lack the correct tools, cannot identify the required removal procedure, or feel unsure about handling brakes, wheels, or steering parts. A mechanic can also help confirm that your chosen case suits your bike.
After the flight, do not ride if a component feels loose, a wheel does not seat correctly, or a brake does not work as expected. Follow manufacturer instructions and have a shop inspect the bike before riding when you cannot confirm correct assembly.
Gear That Helps
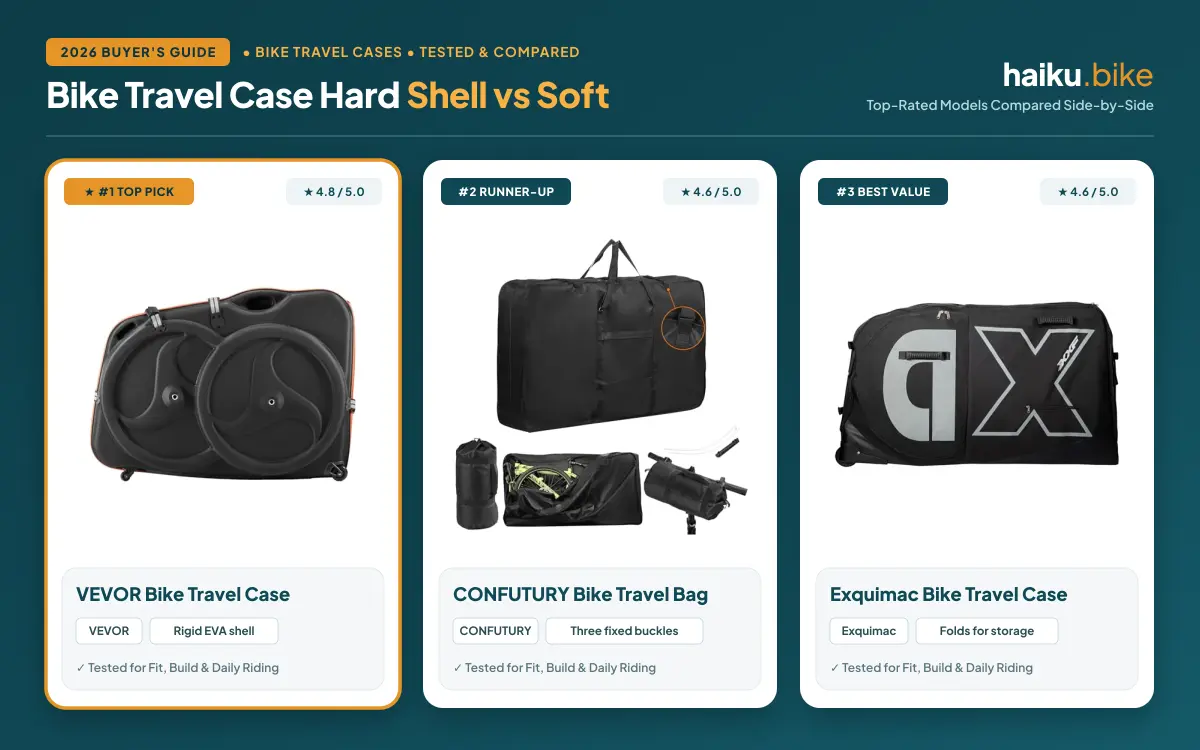
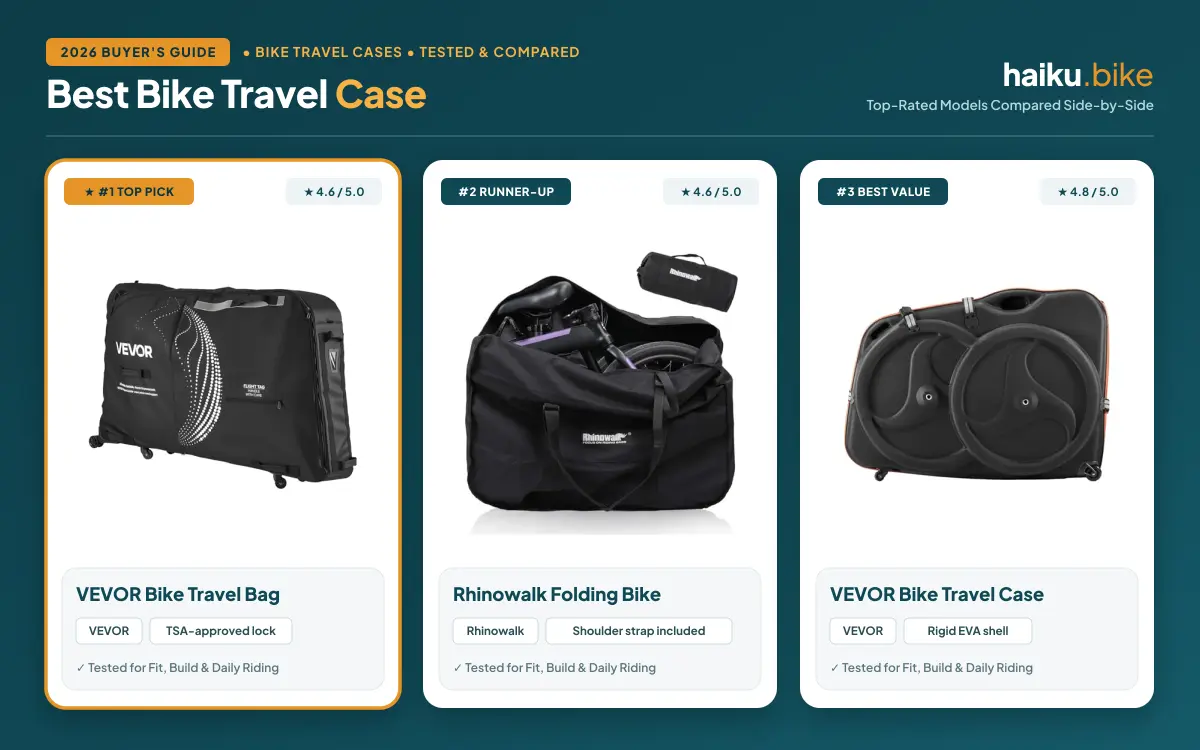
A dedicated travel case or bag can separate wheels from the frame and provide anchor points for securing parts. Compare fit, padding, support, and handling needs in our guide to hard-shell and soft bike travel cases.

Pros
- Two dedicated wheel compartments
- Included frame and fork protectors
- Rolling wheels and cushioned handle
- TSA-approved lock
- Shoulder straps included
Cons
- Limited to 37-42 in wheelbases
- 21.38 lb weight
- Requires removing wheels and pedals

Pros
- Separate wheel compartment
- Three fixed straps
- Folds into handlebar bag
- Shoulder strap included
- Water-resistant coated fabric
Cons
- Padding for exposed parts not included
- Oversized bike fit requires dimension check
- Bike must be partly disassembled

Pros
- Separate frame and wheel compartments
- Three fixed buckles
- Adjustable shoulder straps
- Front accessory pocket
- Includes reusable cable ties and fork holder
Cons
- No listed bag weight
- Bike fit depends on measuring before purchase
- No hard-shell construction listed

Pros
- Fits several road and mountain bike sizes
- Four aluminum support bars
- Layered frame and wheel protection
- Wheels and eight grab handles
- Folds for storage
Cons
- Weight not listed
- Large 55.12-inch length
Explore the full bike travel cases category or read our bike travel case guide for flights and road trips to compare case styles and packing features.
FAQs
Should I use a hard case or a soft bag?
A hard case usually provides a rigid outer barrier, while a soft bag can be easier to store and carry. Your choice depends on packing support, storage space, bike fit, and airline requirements. Compare how each option protects vulnerable parts and whether you can secure your bike without pressure.
Do I need to remove my bike’s pedals?
Pedal removal depends on case clearance and the case maker’s instructions. If pedals remain attached, they can press against the frame or case, so check the packed layout carefully. Use the correct tool and follow the pedal maker’s guidance when removing or reinstalling them.
Should I deflate bike tires before flying?
Check your airline’s current bicycle baggage instructions before deciding whether to change tire pressure. Do not assume every carrier uses the same requirement. If you adjust pressure, follow the tire maker’s guidance and note the pressure range printed on the tire sidewall for setup after arrival.
How do I protect disc brake rotors?
Keep disc rotors from rubbing against wheels, tools, or frame parts during packing. Use a rotor protector or suitable padding, and follow your brake maker’s instructions if removing a wheel or fitting a brake pad spacer. Ask a bike shop for help if a rotor becomes bent or a brake behaves differently.
Can I pack tools with my bike?
Tool rules depend on airline baggage policy and whether your luggage is checked or carried into the cabin. Check current restrictions before packing tools, and secure permitted items so they cannot move against the frame. Keep essential reassembly instructions and any permitted tools accessible at your destination.
What should I check after unpacking?
After unpacking, inspect the frame and components for visible damage, then reinstall removed parts according to manufacturer instructions. Confirm that wheels are seated, controls move as expected, and brakes function correctly before riding. Have a bike shop check anything you cannot confidently assess.



Write Your Review
No reviews yet. Be the first to share your experience!